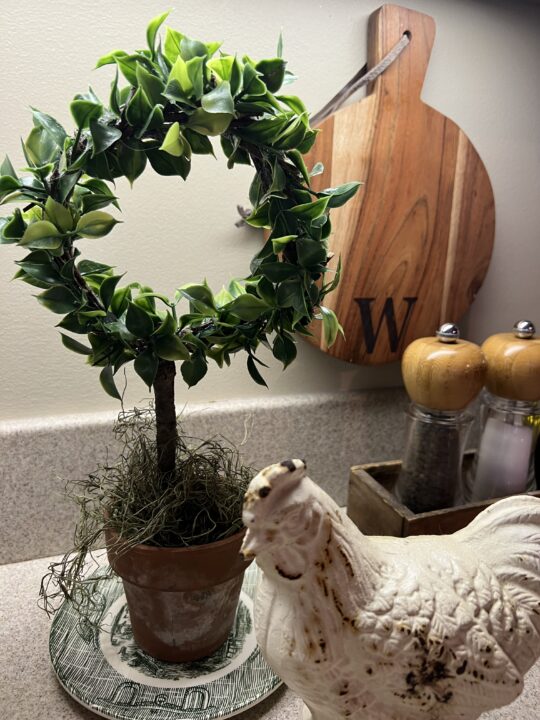
Over the years, I’ve learned to “do” crafts out of necessity. As a young bride, I wanted decor items for my home, that we simply couldn’t afford. Bills and babies left very little extra money for “play”, which was what I considered the pretties that would make my house my home.
Fast forward, I’ve learned that creating is so much more than a money-saving activity. I now choose to create, rather than purchase. And that, my friend, is major!
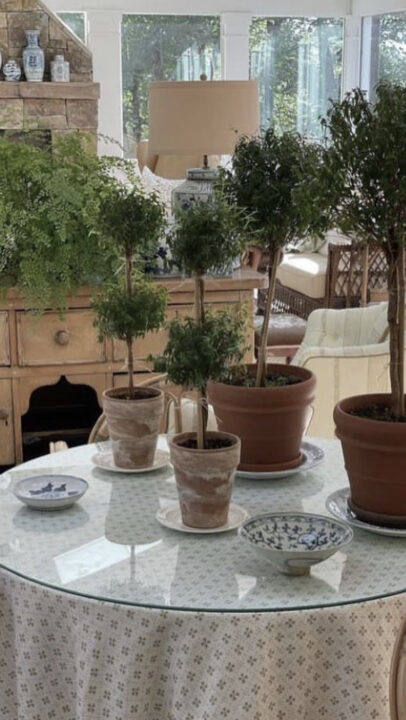
That being said, I saw beautiful topiaries gathered on an old table, various heights, various shades of greenery, all of them in the same type of vessel. This was a magazine photo that captured my eye, and my heart. Challenged by the thought of creating my own
“Magazine- worthy- moment”, I sat down to determine the items needed.
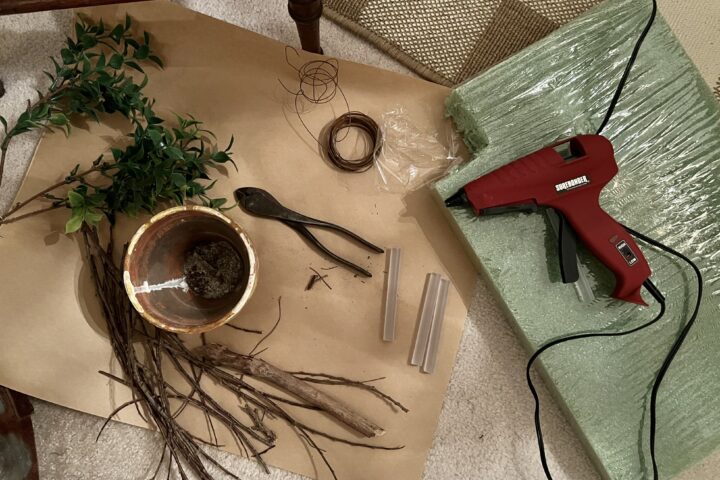
I stared at my completed list of items, pleased with the realization that I already had everything! Between my office of crafting items, sewing and garden items, and a garage full of pruners, clippers and flowerpots, I had it made!
Remember, my goal was to make multiple topiaries of various heights, same greens, and each in the same type of container.
The following is a list of the tools required to make the topiary:
Spring twigs, still pliable, thin enough to bend without breaking
A stick thick enough, and STRAIGHT enough to be the base for the topiary
A vessel of choice, with a sound flat bottom (I used clay flowerpots).
Styrofoam
craft wire, thin, for binding the twigs into a wreath
hot glue gun with extra glue sticks
wire cutters
pruners or garden shears for trimming the twigs, and the stick to length desired
First, we’ll take pliable twigs and intertwine them together to form a wreath shape, this will be held together with the craft wire.
See photo:
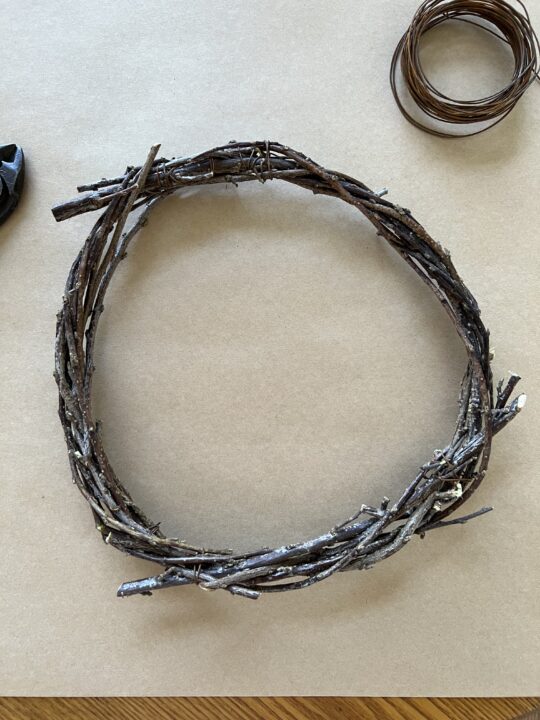
Pliable twigs intertwine to form a wreath shape, secured by thin wire.
Now that you have a wreath, you can add more twigs to make it fuller, but remember, the greenery you choose will do that as well.
Next, choose the stem for the wreath, a straight stick whose diameter equals the depth of your wreath.( from front to back) Find a spot to hot glue it on, that works better than the wire. Let it cool in place before adding the greens.
Cut your greenery into 3″ pieces with a stem, and also smaller 1’2″ buds without a stem, just leaves. Hot glue 3″ pieces where the stem lays on the wreath form. Glue to front of the wreath, cool, then repeat on the back.
Fill in blank spots of the twig form with the smaller leaves until fully covered. Cool.
Choose your pot, and fill inside with styrofoam, that lays tightly touching the inside edges of your vessel. Using the end of your large stem ( or trunk of the wreath), mark the center of the styrofoam and poke a small hole, going straight in, I use the end of a wooden spoon. Insert your stem carefully, straight down, you can’t straighten it later, the styrofoam will lose it’s grip.
Fun part!!! NOW I cover the styrofoam with moss, or Spanish Moss, letting it drape a bit over the edges to soften the look. I like it a bit messy, and full. Your choice!
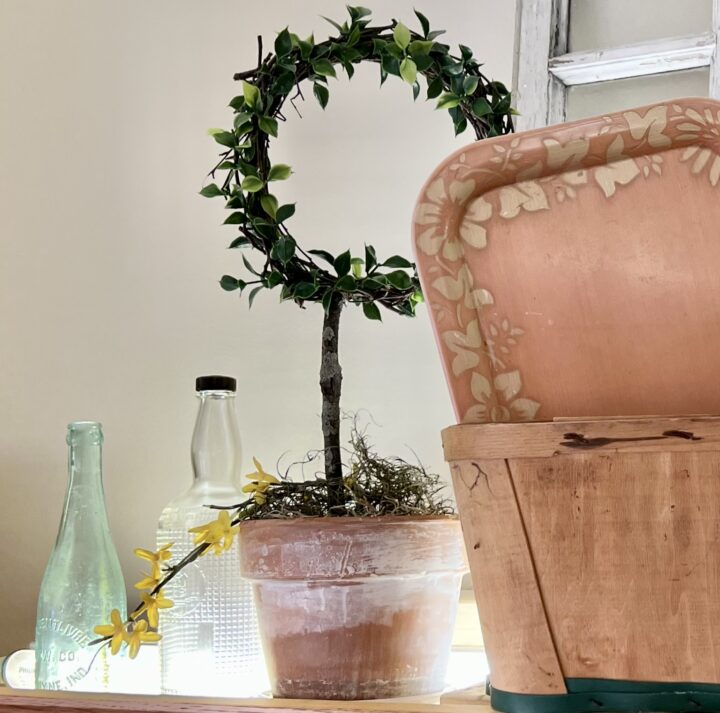
This year I made 2 topiaries, of different sizes, then ran out of the greenery needed! I’ll include another photo:
Enjoy!
I know there are a lot of directions, but it’s actually quite easy. Try it! You’ll be so impressed with what you can do with a bunch of sticks, and a few greens!
Have a great day!
xx,


