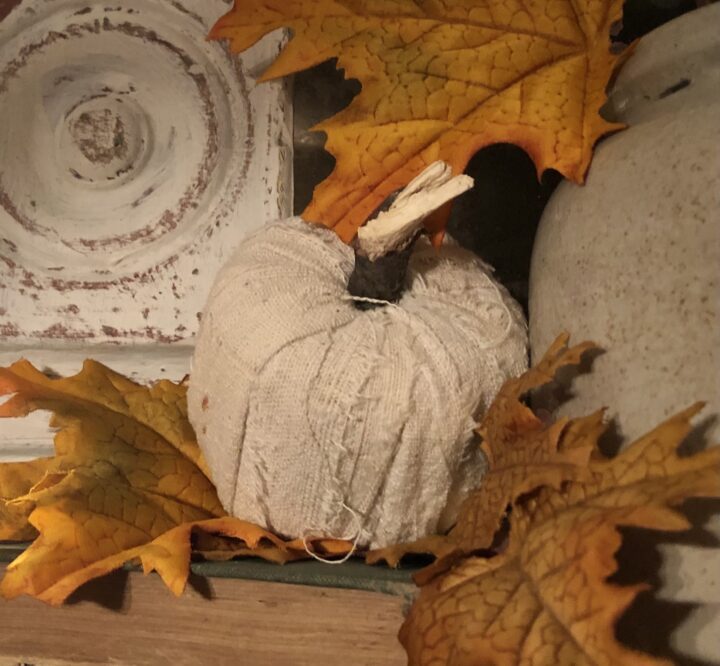
Easy 3 step craft, Rag Ball Pumpkins!
Nothing heralds in the Autumn Season like a Pumpkin!!!
Pumpkins are naturally dressed to impress, wearing multiple colors, stripes, warts, bumps and blemishes of all sorts, and yet, we find them “lovely” and “perfect”!
Personally, I feel that the search for the “perfect” pumpkin takes so long, because it’s often the stem that determines the Winner. Again, the stems are as varied as their round companions! Together, the “ball and stick” combo cannot be beat! Joy was born in the Pumpkin Patch!
This is how I made the pumpkin you see in the above photo:
- This little pumpkin started as a cardboard holder for a roll of Christmas ribbon for gift wrapping. I used the cardboard “roll” as support for the fabric. It’s a small roll, which I thought would be easy to handle. Note: a larger roll would give you a larger pumpkin, increasing the amount of material needed to cover the form.
- I cut 1.5″ slits into the edge of a cotton fabric flour sack, or seed sack, pulling each strip evenly to make the “rag” strips. I used about 1/4 yard of fabric, or less.
- I tied 2 strips together with a knot, pulled tightly, and put the knot in the hole of the roll. I pulled each strip tightly around and through the hole, until the entire cardboard roll was covered. When a strip was close to being used, about 3″ left, I would tie on another strip…and kept repeating until I was finished. Tuck in all knots, loose ends or frays that you don’t want exposed. Keep tugging to make sure everything is tight.
- Finally, anything loose can be glued down with a small bit of hot glue. Lastly, find your perfect “stem”, either a stick or an actual dried pumpkin stem. Insert tightly.
That’s it! Enjoy!
xx,


